
Well, Neal from Laser Cut Card did it again! Another home run in the Necron coolness department. These are some dead simple objective markers for themed for a Necron force and they are just great.
What makes them so great? Notice the dice in the midst of the marker. This is a great way to show what mysterious terrain you are in. You can just roll the die, set it into the marker and voila, instant remembering. I have the GW munitorium objective marker sets, and I like the stands and the dice, mind you, but the color and contrast makes them damned hard to read.
These markers are pretty big, but not overly so, you can see the size in relation to a die. One side has the normal spread of number 1,2,2,3,3,4 while the other side has a generic Necron emblem. They are three layers thick of the heavy duty card Neal uses, so there is very little chance of the die getting bumped or jostled out of the marker during a game. If you're tough enough to knock the die out of it, you're probably a rage-quitter... seek professional help :)
Assembly is, as I said, dead simple. Cut them off the sheet they come on, cut out the die hole and the Necron emblems, paint and glue. In case you are wondering, you do not have to cut out the tiny numbers, Neal already did that. The most I had to do there was knock a few tiny card-shards out of the holes. The laser did the detail work already. This was a very simple one-off project I did in an evening (painting included) while I was doing other stuff as well (cleaning the hobby room).
So, if you're a Necron player, you need these. Be the first kid on your block with a set!
Some pics, since that is my thing, you know, pictures, wink wink, photos...

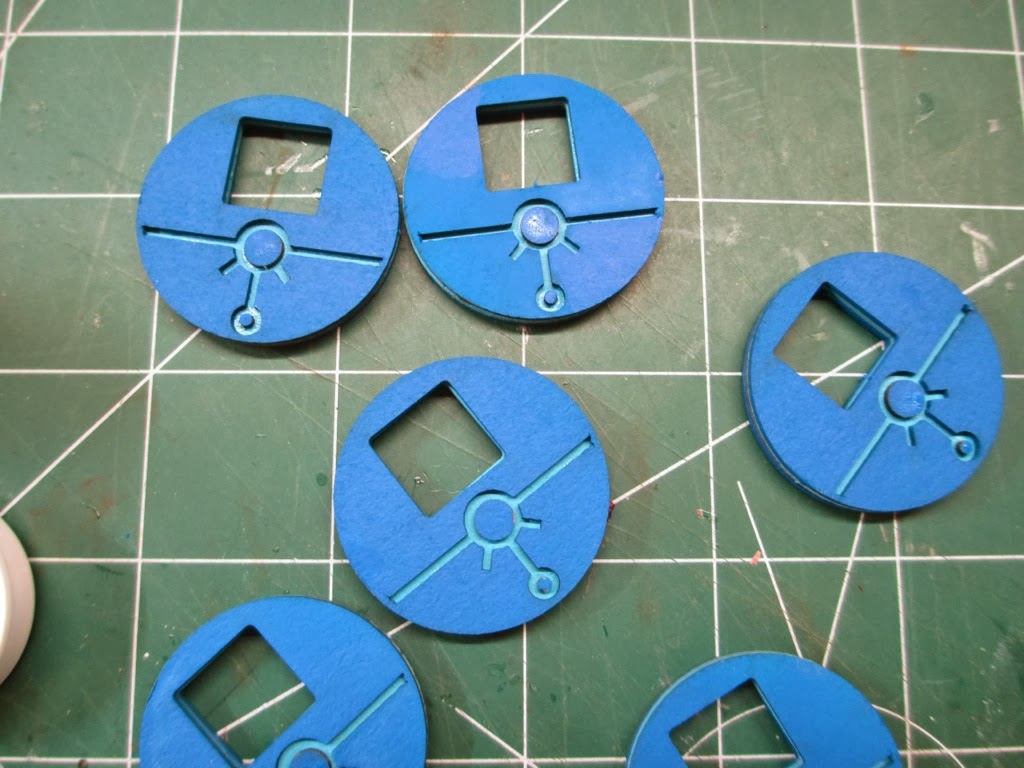
Here are all the parts you get/need to have the coolest markers around town. Notice in the mid-left side of the Pic is the little dots from the Necron symbol. They are small and round, anything you drop, slide or roll on your work table will scatter them about. Caveat emptor! I painted the middle sections, both sides, with my highlight color. The outer pieces, I painted both sides, but in retrospect, that was a waste of paint. I could have just painted the outermost side. Oh well, live and learn


The front and backs, after gluing with super glue. Used little dots of Super glue and just the very tip of a hobby knife to place the dots. Then I hit them with the paint.

Again, front and back shots, they are verra nice!


I painted the edges too, just because I wanted them to look really nice. In play, I doubt if anyone would ever notice.
That's all she wrote! These are cool markers and I am really glad I got them!
No comments:
Post a Comment
Please feel free to leave comments, positive or negative. I am a big boy, I can handle it. Thanks for your thoughts, always much appreciated.