Wow, this is a cracking good value guys. 2 Knights and a Sanctum Imperialis for $195 (US). That's a savings of $152 from separate purchases.
Take a look;
Enjoy, and thanks!
Showing posts with label Imperial Knight. Show all posts
Showing posts with label Imperial Knight. Show all posts
Sunday, April 24, 2016


Tuesday, March 25, 2014
Imperial Knight, New Pics (better)
I spent the day regretting the pictures I posted of the Imperial Knight. The blue background was a mistake, I should know better by now... So, just some new photos of the same guy. Without the colour sucking horrid blue background. Sorry about that...


Imperial Knight Build - Day 7 - Done!

So, I was only able to a little work on Saturday, and a little Sunday. Finished the base today. I am really jazzed with how he came out. Especially the decals. I always worry with them, but I followed all the rules and they came out pretty good. The matte finishing was a real trial too. I started by spraying some Valejo matte finish through the airbrush, but it frosted really badly on some pieces, on other is was fine? How odd! I was able to take it outside on Sunday and shoot a coat of GW's Purity Seal on it, and it toned down the frosting a lot.
For the decals, I finally did it the right way from start to finish. I put gloss varnish on the pieces first and let it dry. I used Micro-Set to ready the area and then cut and dipped the decal. Nudged them into position with the brush and then blotted up the excess. For the curved areas, I followed that up with a coating of Micro-Sol to get them to soften up and hug the contours of the model.
So, all in all, this is a great model. It was fun to build, a blast to paint and the options are fantastic. The pose options are great, and the instructions are very clear on how to put all the fiddly-bits together. I hope you all like it. Bring on the D!!!
On with the in-process pictures;


After the jump, pictures from every angle!!!
Thursday, March 20, 2014
Imperial Knight Build - Day 6
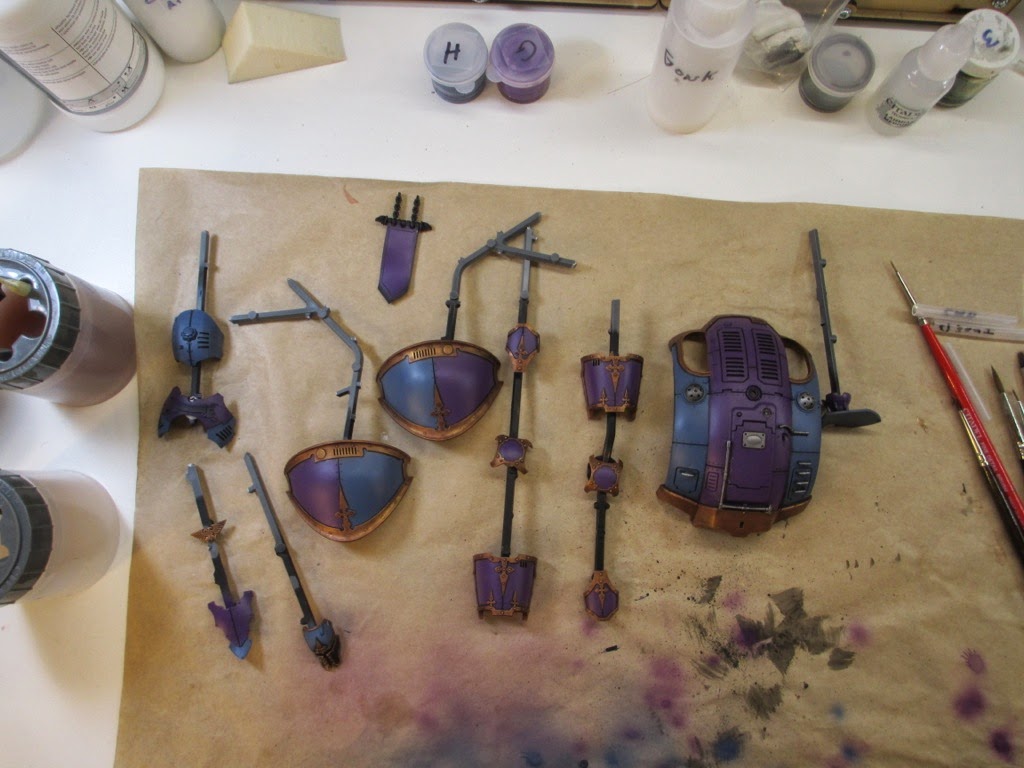
What followed was not too bad at all, I think. I'm normally pretty critical, and in the photos, I'm sure folks will see a lot of errors, but I have the benefit of looking at it from tabletop distance, and it doesn't look to shabby at all. I still have lots of little details to hit, and I certainly will not make my 7 day goal, but I am also not going to rush this. I want this to be the first model I am really proud to say I painted. I love my necrons, but I think they show signs of amateurishness. Not that I'm a pro, but after I get all my marines and eldar and chaos (LOL) done, I may revisit the boys in cyber suits.
Tonight was pretty much pin-point washes, washing the gold, drybrushing the gold and picking out some details. Hope you like them, and if you have constructive criticisms, feel free, as always. I can take it... I'll only cry on the inside... LOL :)
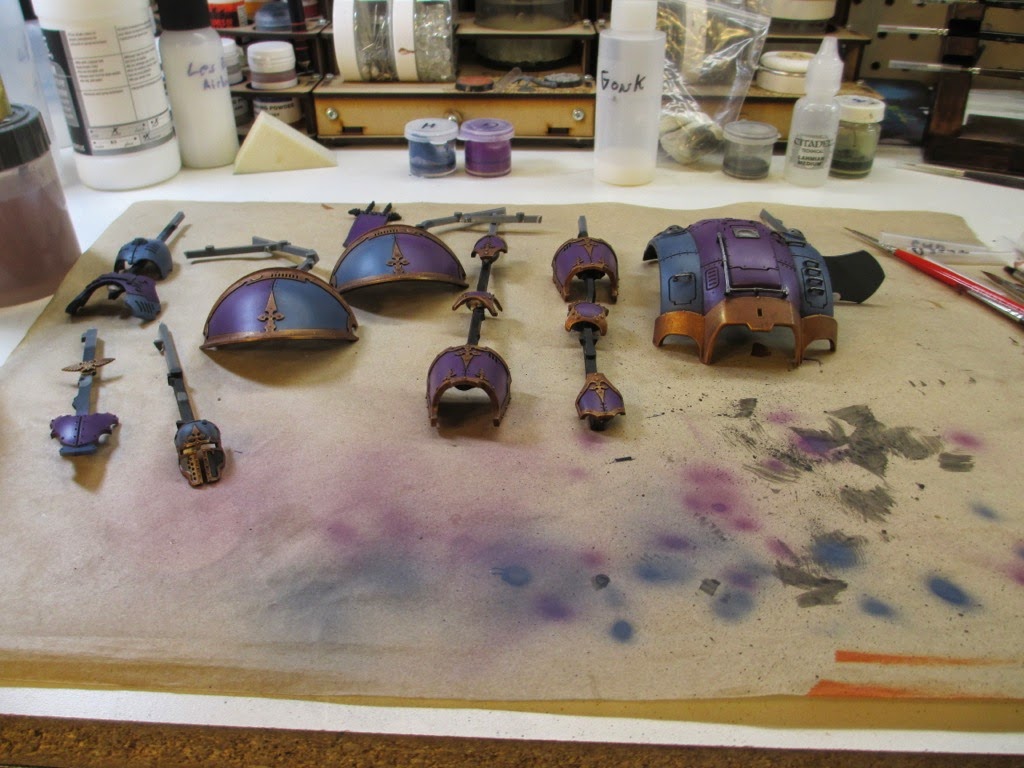


More tomorrow, maybe. I have an appointment with the accountant for the dreaded tax season. I may be needing some time in hospital!
Tuesday, March 18, 2014
Imperial Knight Build - Day 5
At it again... Base coating is done. The gold was a real bear. I used the GW Balthasar gold for the base, and it was thick. Then I would thin it out too much and had to add more in. Vicious cycle ensues... lol. But it's done.

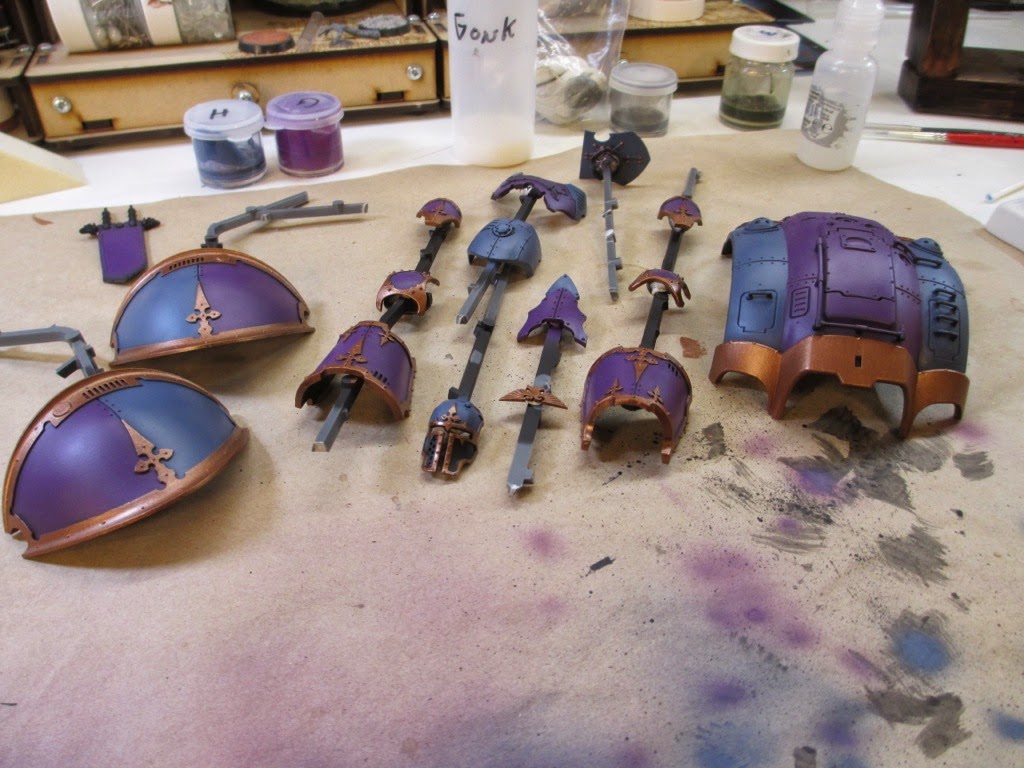 All of it was done the old fashioned way, brush and patience. 2 coats minimum for the gold. The Grey/Purple was sprayed yesterday...
No update tonight, it's bowling league night.
See ya round!!
No update tonight, it's bowling league night.
See ya round!!
Monday, March 17, 2014
Imperial Knight Build - Day 4
Well, it was an unfortunately short painting day for a sunday. NASCAR and Formula 1 racing took alot of my day and then the plumbing backed up. UGH! Still, I did get some airbrushing done on the armor...

Well, here is the overview of the progress thus far. I am going with Xereus Purple and the Fang for the main colors. Oddly enough, I am going to make this a House Hawkshroud Knight, but i don't like yellow (The color or painting it...). In my fluff, This Knight has been on an extended mission for over 50 years. I figure in that time, and with his penchant for pinpoint night raids, he toned down the bright yellow.
 I have fallen in love with the Sotar 20/20 airbrush (Thanks Carl!!). The pinpoint control, as well as my ever increasing airbrush skills, makes it my go to brush for detail work. Getting a good mix and thinning on the paint and spraying with a low air pressure seems to be the real key with this brush.
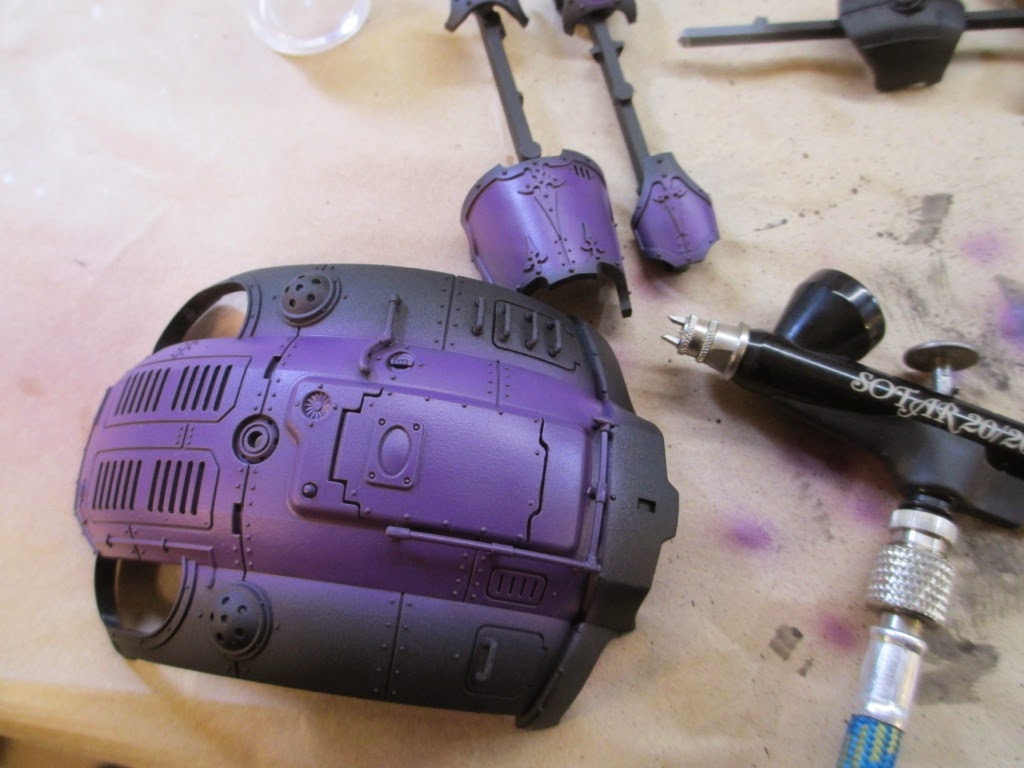 This is the result of the first go on the purple. For me, this is very little overspray. :)
 Once again, I used the silly putty to mask everything, although I didn't get many pictures of it. I rolled out the silly putty into a thin strip and then used it to mask the lines. The nice part was being able to use sculpting tools to push it down to make the seal, but also to move it around to better conform to what I wanted painted.
 And again, the finished results. One thing to remember if you use Silly Putty to mask. It does flow, and it does not take long to start that flowing process. Do not mask something and then come back in an hour, the putty will have flowed a bit and you will not get the results you expected. But if you are going to mask then go right to painting, it's brilliant! Thank you Les Bursley!!!
Hopefully, more tomorrow!
Hopefully, more tomorrow!
Sunday, March 16, 2014
Imperial Knight Build - Day by day
So, what do you do when you have a brand new Knight Titan and a a night or two to fart around with? You build the damn thing. I thought I might start a log of my progress just for fun... Here goes...
 The four major sub assemblies and the base. I didn’t glue the torso to the legs until it was primed, as I felt it would be easier to prime in chunks.
 All the parts primed. Yay. Build complete.
The painting days are after the jump break...
Build Day...
This thing build like a dream. The instructions are pretty clear and the model is VERY well done. Hardly any mold lines too. Super easy and very customizable. They show you in the instructions where not to put glue, and you should pay attention to that. I decided to build mine with the body and Melta gun facing to the right a bit, I like the look of it. The only things I left moveable were the arms, the ion shield and the stubber.The painting days are after the jump break...
Friday, March 14, 2014
Imperial Knight Collectors Ed Codex + Companion

Ok, so I am normally the GW apologist, you all know that. I tend to be the one that says they're not all that bad. I also want to point out that I love this codex, and the collector's edition is great, but... It is WAY not worth the extra $74 for the Collector's edition.
The codex is great, although, as everyone knows, there is only 2 units in the entire book. The Imperial Knight Titan, Errant and Paladin versions. The rules section is comprised of those sections from Apoc/Escalation that you need to play with the Titan. It covers the super heavy stuff, plus the effects of the Melee D weapon. Then it has the two units. There is a section for warlord traits so that you can make the Knights your main force. There is also a pretty cool table to determine the level of your pilot. He'll either be green, average or Seneschal. The seneschal is +1 to WS/BS and the ion shield is a 3+ instead of 4+. The green pilot is -1 to all those. It gives a little variety, but there could have been a lot more done here. I think I'll make my own table to really vary pilots and give the game a little "narrative". Also, there is a sentence that makes all your knights scoring if they are your main detachment. But, as has been pointed out elsewhere, that does not make them denial units, so in an objective game, you could find some last turn shenanigans costing you the game... The obligatory allies table is also here.

 |
| The cover of the added pullout section with the Titan photos. Kinda like a 40k porn surprise package :) |
 |
| The slipcase cover. Sorry, I left the plastic on. It looks better in real life |
Monday, March 10, 2014
Titan Priming (Reaver and Knight)


Luckily the primer was still very soft so a quick hour long bath in the simple green bag-of-doom was enough to just lift off the primer in sheets. Otherwise I would have been a very unhappy camper.
#2. The Valejo Surface primer does not need to be thinned at all, really. It just needs to be sprayed at a higher PSI than I thought. I found that 25-30 PSI was the magic number to avoid sludge build up and get consistent results.
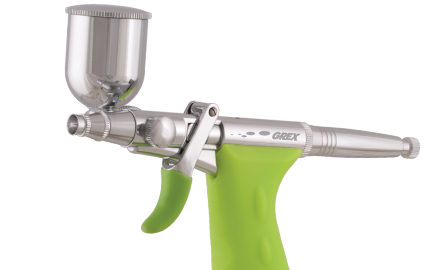
#4. Priming two Titans and a Nightshroud will eat up a lot of primer. Make sure you have enough on hand when you start a session like this.
#5. The blow dryer is your friend. Seriously, being able to blow dry these parts helped immensely.
So, all in all it was a good hobby day. Watched the NASCAR race and also the new COSMOS series with Neil deGrasse Tyson (Fantastic new edition, major kudos to the whole team there!!!) and got a large set of items off my KanBan "to prime" column!
 |
| The Knight Errant before |
 |
| And after... |
 |
| Necron Goodness!!! |
Subscribe to:
Posts (Atom)